Scoped Library Extractor
There are cases where we need to use translations in our npm libraries (which is common in a monorepo environment). In these cases, we probably want to have the translation files inside the library's folder and ship them together with it.
Unfortunately, we won't be able to load our translation files from the library for two reasons:
- We can't access the application's public directory
- Webpack dynamic imports don't work with libraries
The only option we've got is to load the library translation files from our application public folder.
So if we want our translation files to be under the library's folder, we'll need to copy and paste the translation files repeatedly.
Well, this is why we've created the Scoped Library Extractor tool, which will do the work for you.
For example, here we have created a new CLI project, with the main application (app), and another library with translations (core):
📦 projects
 ┣ 📂 core
 ┃ ┣ 📂 src
 ┃ ┃ ┣ 📂 lib
 ┃ ┃ ┃ ┣ 📜 core.component.ts
 ┃ ┃ ┃ ┣ 📜 core.module.ts
 ┃ ┃ ┃ ┣ 📂 i18n
 ┃ ┃ ┃ ┃ ┣ 📜 en.json
 ┃ ┃ ┃ ┃ ┗ 📜 es.json
 ┃ ┃ ┣ 📜 public-api.ts
 ┣ 📜 ng-package.json
 ┣ 📜 package.json
📦 src
 ┣ 📂 app
 ┃ ┣ 📜 app.component.html
 ┃ ┣ 📜 app.component.ts
 ┃ ┣ 📜 app.module.ts
 ┃ ┗ 📜 transloco.loader.ts
 ┣ 📂 assets
 ┃ ┣ 📂 i18n
 ┃ ┃ ┣ 📜 en.json
 ┃ ┃ ┗ 📜 es.json
Now we need to declare the scope in the CoreModule:
import { provideTranslocoScope } from './transloco.providers';
@NgModule({
  declarations: [CoreComponent],
  providers: [provideTranslocoScope('core')],
  imports: [TranslocoModule],
})
export class CoreModule {}
Now, we can use the scope in our component:
@Component({
  selector: 'lib-core',
  template: `
    <ng-container *transloco="let t">
      {{ t('core.title') }}
    </ng-container>
  `,
})
export class CoreComponent {}
Now, let's install transloco-scoped-libs package:
$ npm install @jsverse/transloco-scoped-libs --save-dev
The first thing we need to do is to add i18n configuration with the path to the translation folder in the library's package.json:
{
  "name": "@app/core",
  "i18n": [
    {
      "scope": "core",
      "path": "src/lib/i18n"
    }
  ]
}
Next, we need to add the library's path into your global config as following (we can also pass npm package):
const config: TranslocoGlobalConfig = {
    scopedLibs: ['./projects/core/', '@lib/name']
}
If multiple destination is needed you could also pass scopedLibs as an object:
const config: TranslocoGlobalConfig = {
  scopedLibs: [
    {
      src: './projects/core',
      dist: ['./projects/spa/src/assets/i18n', './src/assets/i18n/']
    }
  ]
}
Note that the path should refer to the location of the library's package.json file.
Finally, we need to add the following script to the main package.json:
"scripts": {
  "transloco:extract-scoped-libs": "transloco-scoped-libs"
}
It also support "watch mode" by passing --watch flag:
"scripts": {
  "transloco:extract-scoped-libs": "transloco-scoped-libs --watch"
}
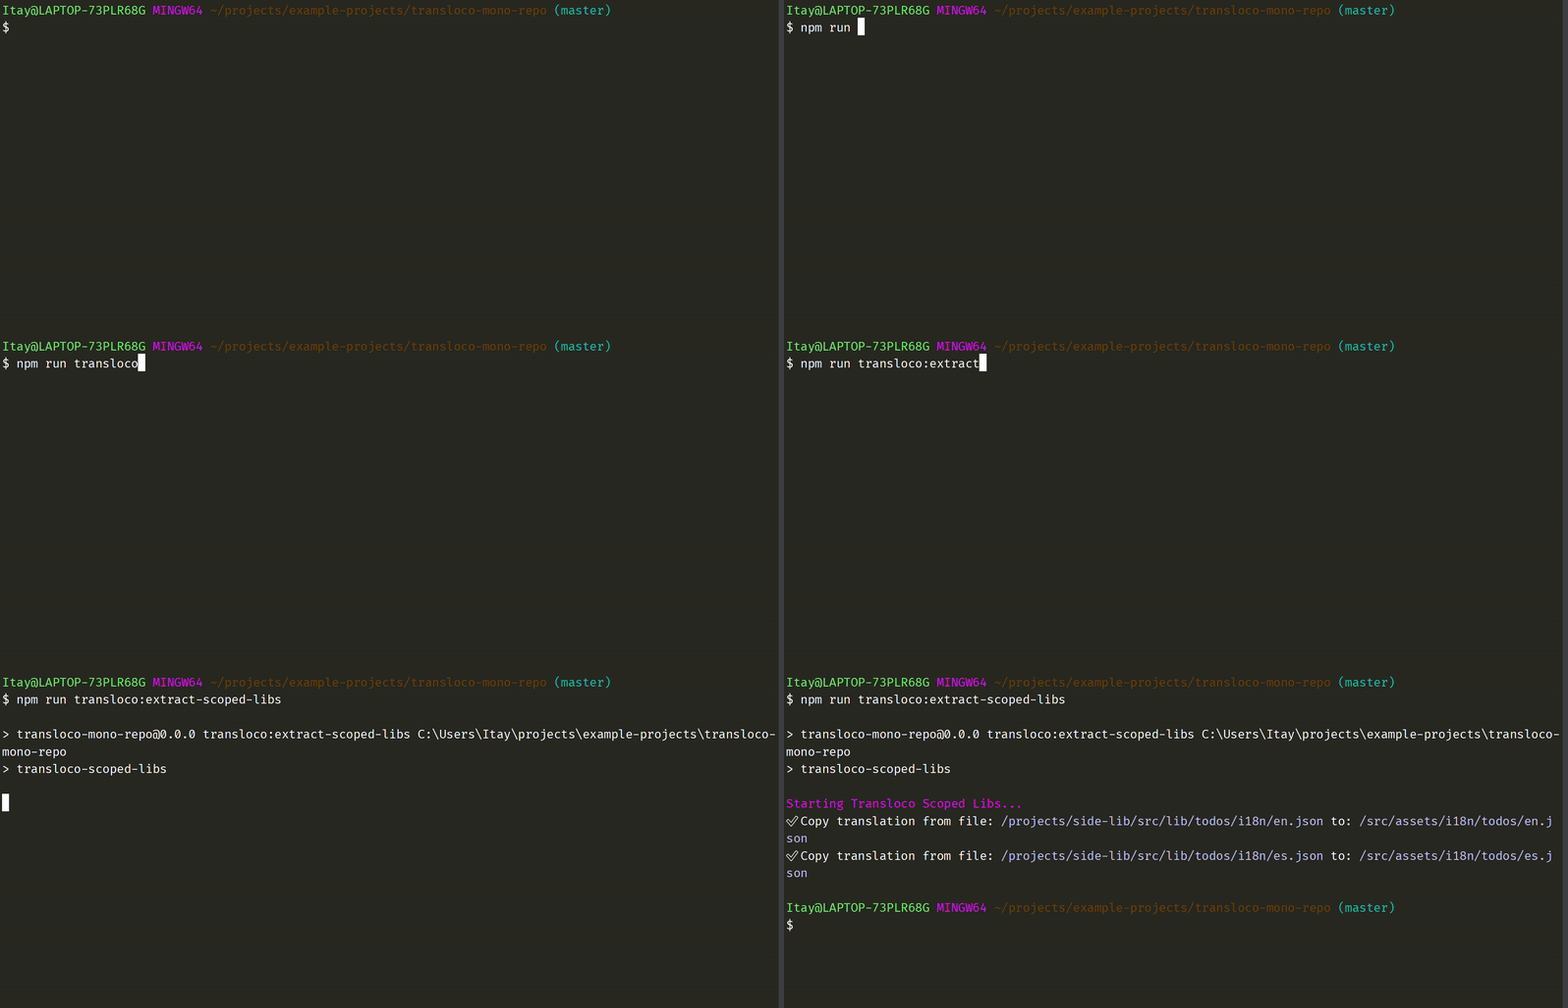
Now, if we run the script, the following things will happen:
-
The script will extract the translation files from our library and copy them to the main project's translation root folder (e.g.,
src/assets/i18n). -
It will add the library's translation files to the
.gitignore( if you don't want to modify the.gitignoreuse the--skip-gitignoreflag).

Join Strategies
This tool supports two different strategies. The default option, the one we used above, and join.
The join strategy will combine all the translation files into one file under the root translation path for each language (e.g., en.vendor.json).
We can set the strategy in our library's package.json:
{
  "name": "@app/core",
  "i18n": [
    {
      "scope": "core",
      "path": "src/lib/i18n",
      "strategy": "join"
    }
  ]
}
Then, we can use it in our application loader:
@Injectable({ providedIn: 'root' })
export class HttpLoader implements TranslocoLoader {
  constructor(private http: HttpClient) {}

  getTranslation(lang: string, { scope }) {
    const base = this.http.get(`/assets/i18n/${lang}.json`);

    if (scope) {
      return base;
    }

    return forkJoin([
      base,
      this.http.get(`/assets/i18n/${lang}.vendor.json`),
    ]).pipe(
      map(([translation, vendor]) => {
        return { ...translation, ...vendor };
      }),
    );
  }
}

export const httpLoader = { provide: TRANSLOCO_LOADER, useClass: HttpLoader };
Use the Webpack Plugin
Add custom Webpack support by using a tool such as ngx-build-plus, and add the plugin to webpack.config file:
const TranslocoScopedLibsWebpackPlugin = require('@jsverse/transloco-scoped-libs/webpack');

module.exports = {
  plugins: [new TranslocoScopedLibsWebpackPlugin()],
};